
Introduction
Your lower back tightens up halfway through a long video call, so you shift in your chair, lean forward to type, and realize you have been slouching for 40 minutes straight. By the end of the day, you stand up and feel that familiar ache, even though you never lifted anything heavy.
If your desk setup is off by just a few inches, you can unintentionally stack bad posture on top of long sitting, and that can turn mild discomfort into a daily problem. This guide walks you through a simple sit-stand setup plan (seat baseline, screen and keyboard height, a realistic switching cadence, active standing, and L-shape zoning) so your sit-stand workstation supports better movement and calmer low-back mechanics.
Benefits of Ease Lower Back Discomfort by Using Sit-Stand Desk
1: Set your seated baseline (so your spine has a neutral start)
Start by dialing in sitting first, because your seated baseline becomes the reference point for everything else. Set your chair height so your feet are flat, knees are near 90 degrees, and your hips sit slightly higher than your knees. Next, scoot back so your pelvis is supported by the backrest (use lumbar support if your chair has it), then keep ribs stacked over hips instead of flaring forward.
Use quick checkpoints to keep this practical:
- Feet: flat, not tucked under
- Pelvis: supported, not perched
- Elbows: relaxed at your sides
- Low back: neutral, not rounded
When your seated posture is stable, you stop chasing comfort with constant fidgeting and forward leaning. That alone can reduce the sustained low-back load that builds up during deep-focus work.
2: Lock monitor and keyboard height (so you stop reaching and slumping)
Do this before you start standing more, because a perfect desk height does not matter if your screen pulls your head and shoulders forward. Position your monitor so the top third of the screen is around eye level, and place it roughly an arm's length away (adjust based on your vision). Then set your keyboard and mouse so your elbows stay close to 90 degrees with relaxed shoulders.
Common setup mistakes that trigger slouching:
- Monitor too low: chin juts forward
- Keyboard too far: shoulders round and you collapse
- Mouse too far right: trunk twists for hours
If you use a laptop, treat it as two separate tools: raise the screen with a stable riser and use an external keyboard and mouse. This is one of the fastest ways to improve home office ergonomics without overthinking it.
3: Program a sit-stand cadence you will actually follow
Pick a cadence that is easy enough to sustain for a full week, because consistency beats an ambitious plan you abandon by day three. A strong starter rhythm is standing 5 to 10 minutes every 30 minutes, then adjusting based on comfort and workload. Many people feel better with shorter, frequent switches rather than long standing blocks.
To make it automatic, set reminders and use the desk's memory presets so you are not guessing heights each time. Research on sit-stand workstations shows they can reduce sitting time by about an hour per workday in real-world interventions. (link.springer.com)
Practical cadence tips:
- Stand during low-typing tasks (calls, reading, reviewing)
- Sit for precision mousing or heavy typing bursts
- Switch early, before discomfort starts
4: Stand actively, not statically (movement is the benefit)
When you stand, avoid locking your knees and bracing like you are standing in line. Instead, keep a slight knee bend, shift weight side-to-side, and add tiny movement snacks that reset your low back and hips. For example, do 20 to 30 seconds of gentle marching in place, a brief walk to refill water, or a few slow hip hinges while keeping your spine long.
A key point: too much static standing can create its own discomfort (feet, calves, low back), so your goal is alternating positions plus light movement. Guidance from CDC emphasizes that prolonged standing can contribute to musculoskeletal discomfort and that changing posture and using supportive measures helps manage risk. (cdc.gov)
If standing makes your low back feel worse, shorten your standing intervals first, then increase the number of transitions across the day.
5: Reduce twisting with L-shape zoning (keep your pelvis steady)
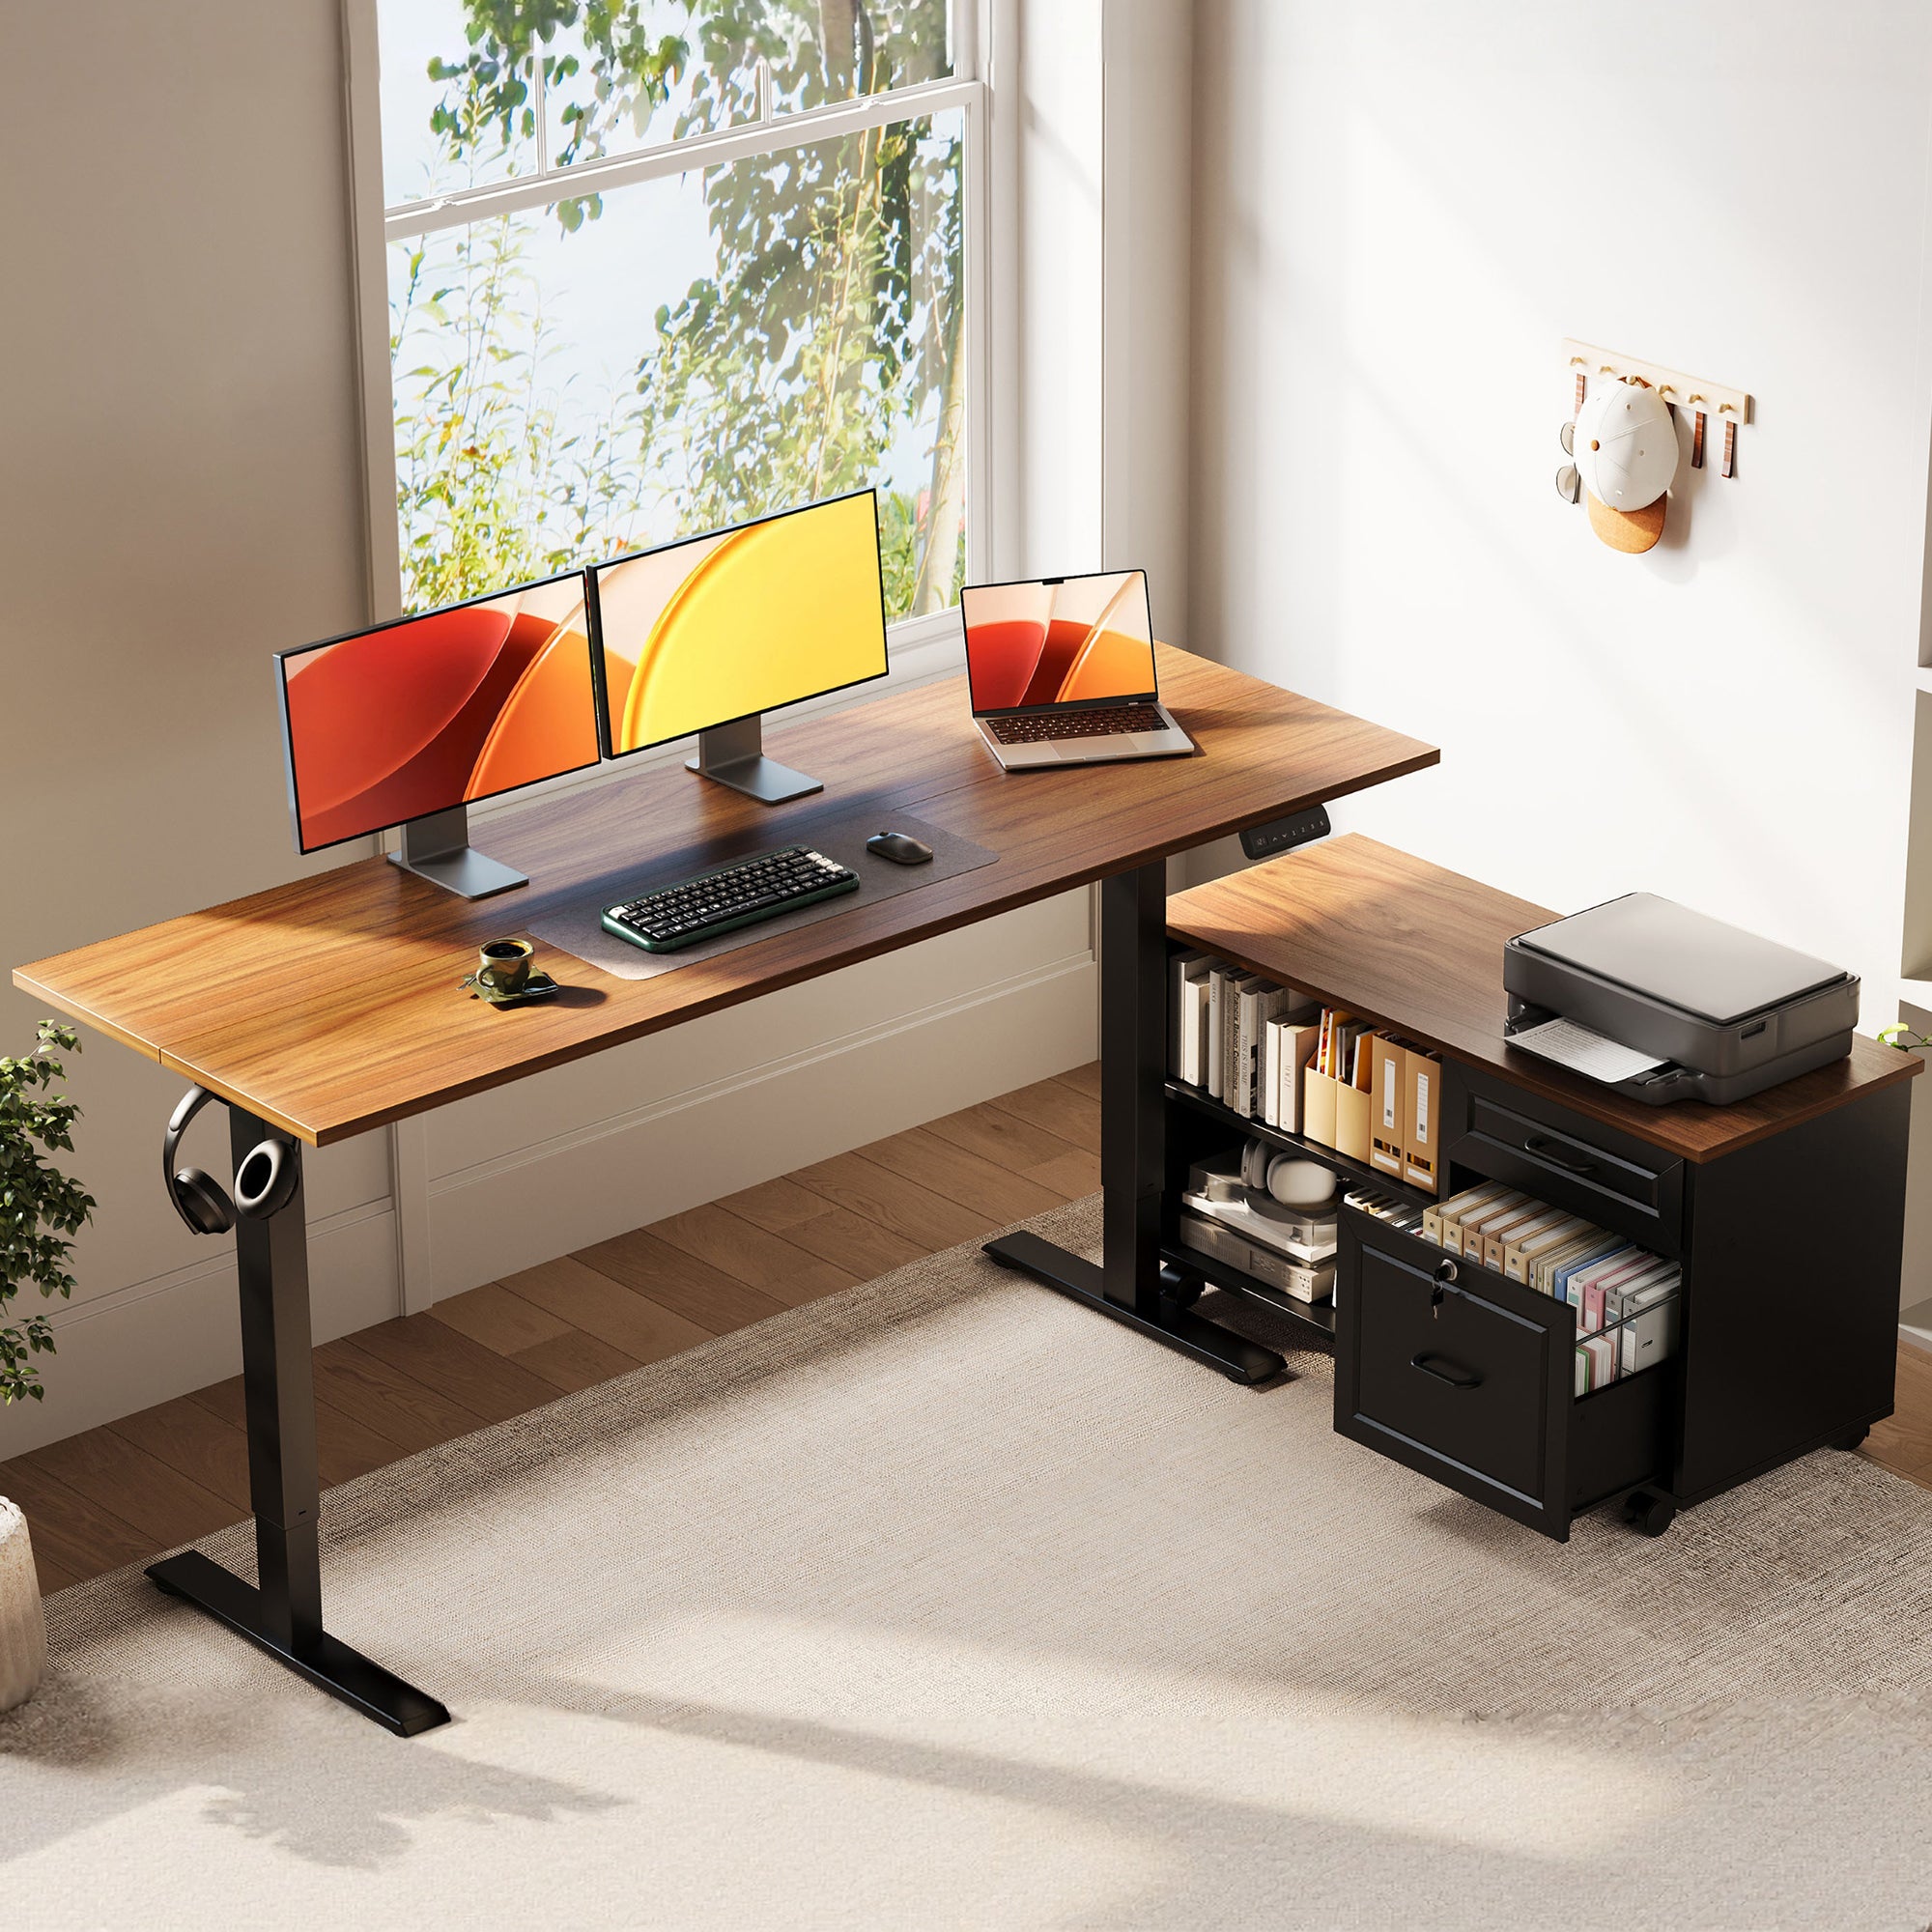
Use your L-shape like a workflow map. Put your primary keyboard, mouse, and main monitor on the main wing where you face forward. Then place secondary items (printer access, notebooks, files, chargers) on the return wing so you can swivel your chair or take one step instead of twisting your spine repeatedly.
Try this zoning layout:
- Zone A (straight ahead): main monitor + keyboard + mouse
- Zone B (reach zone): notes, phone, water
- Zone C (return wing): files, printer, accessories
This is where an L-shaped sit-stand workstation can shine: you can keep high-use tools centered while still gaining surface area for document-heavy work, which is a common trigger for awkward reaching.
OffiGo desk setup example
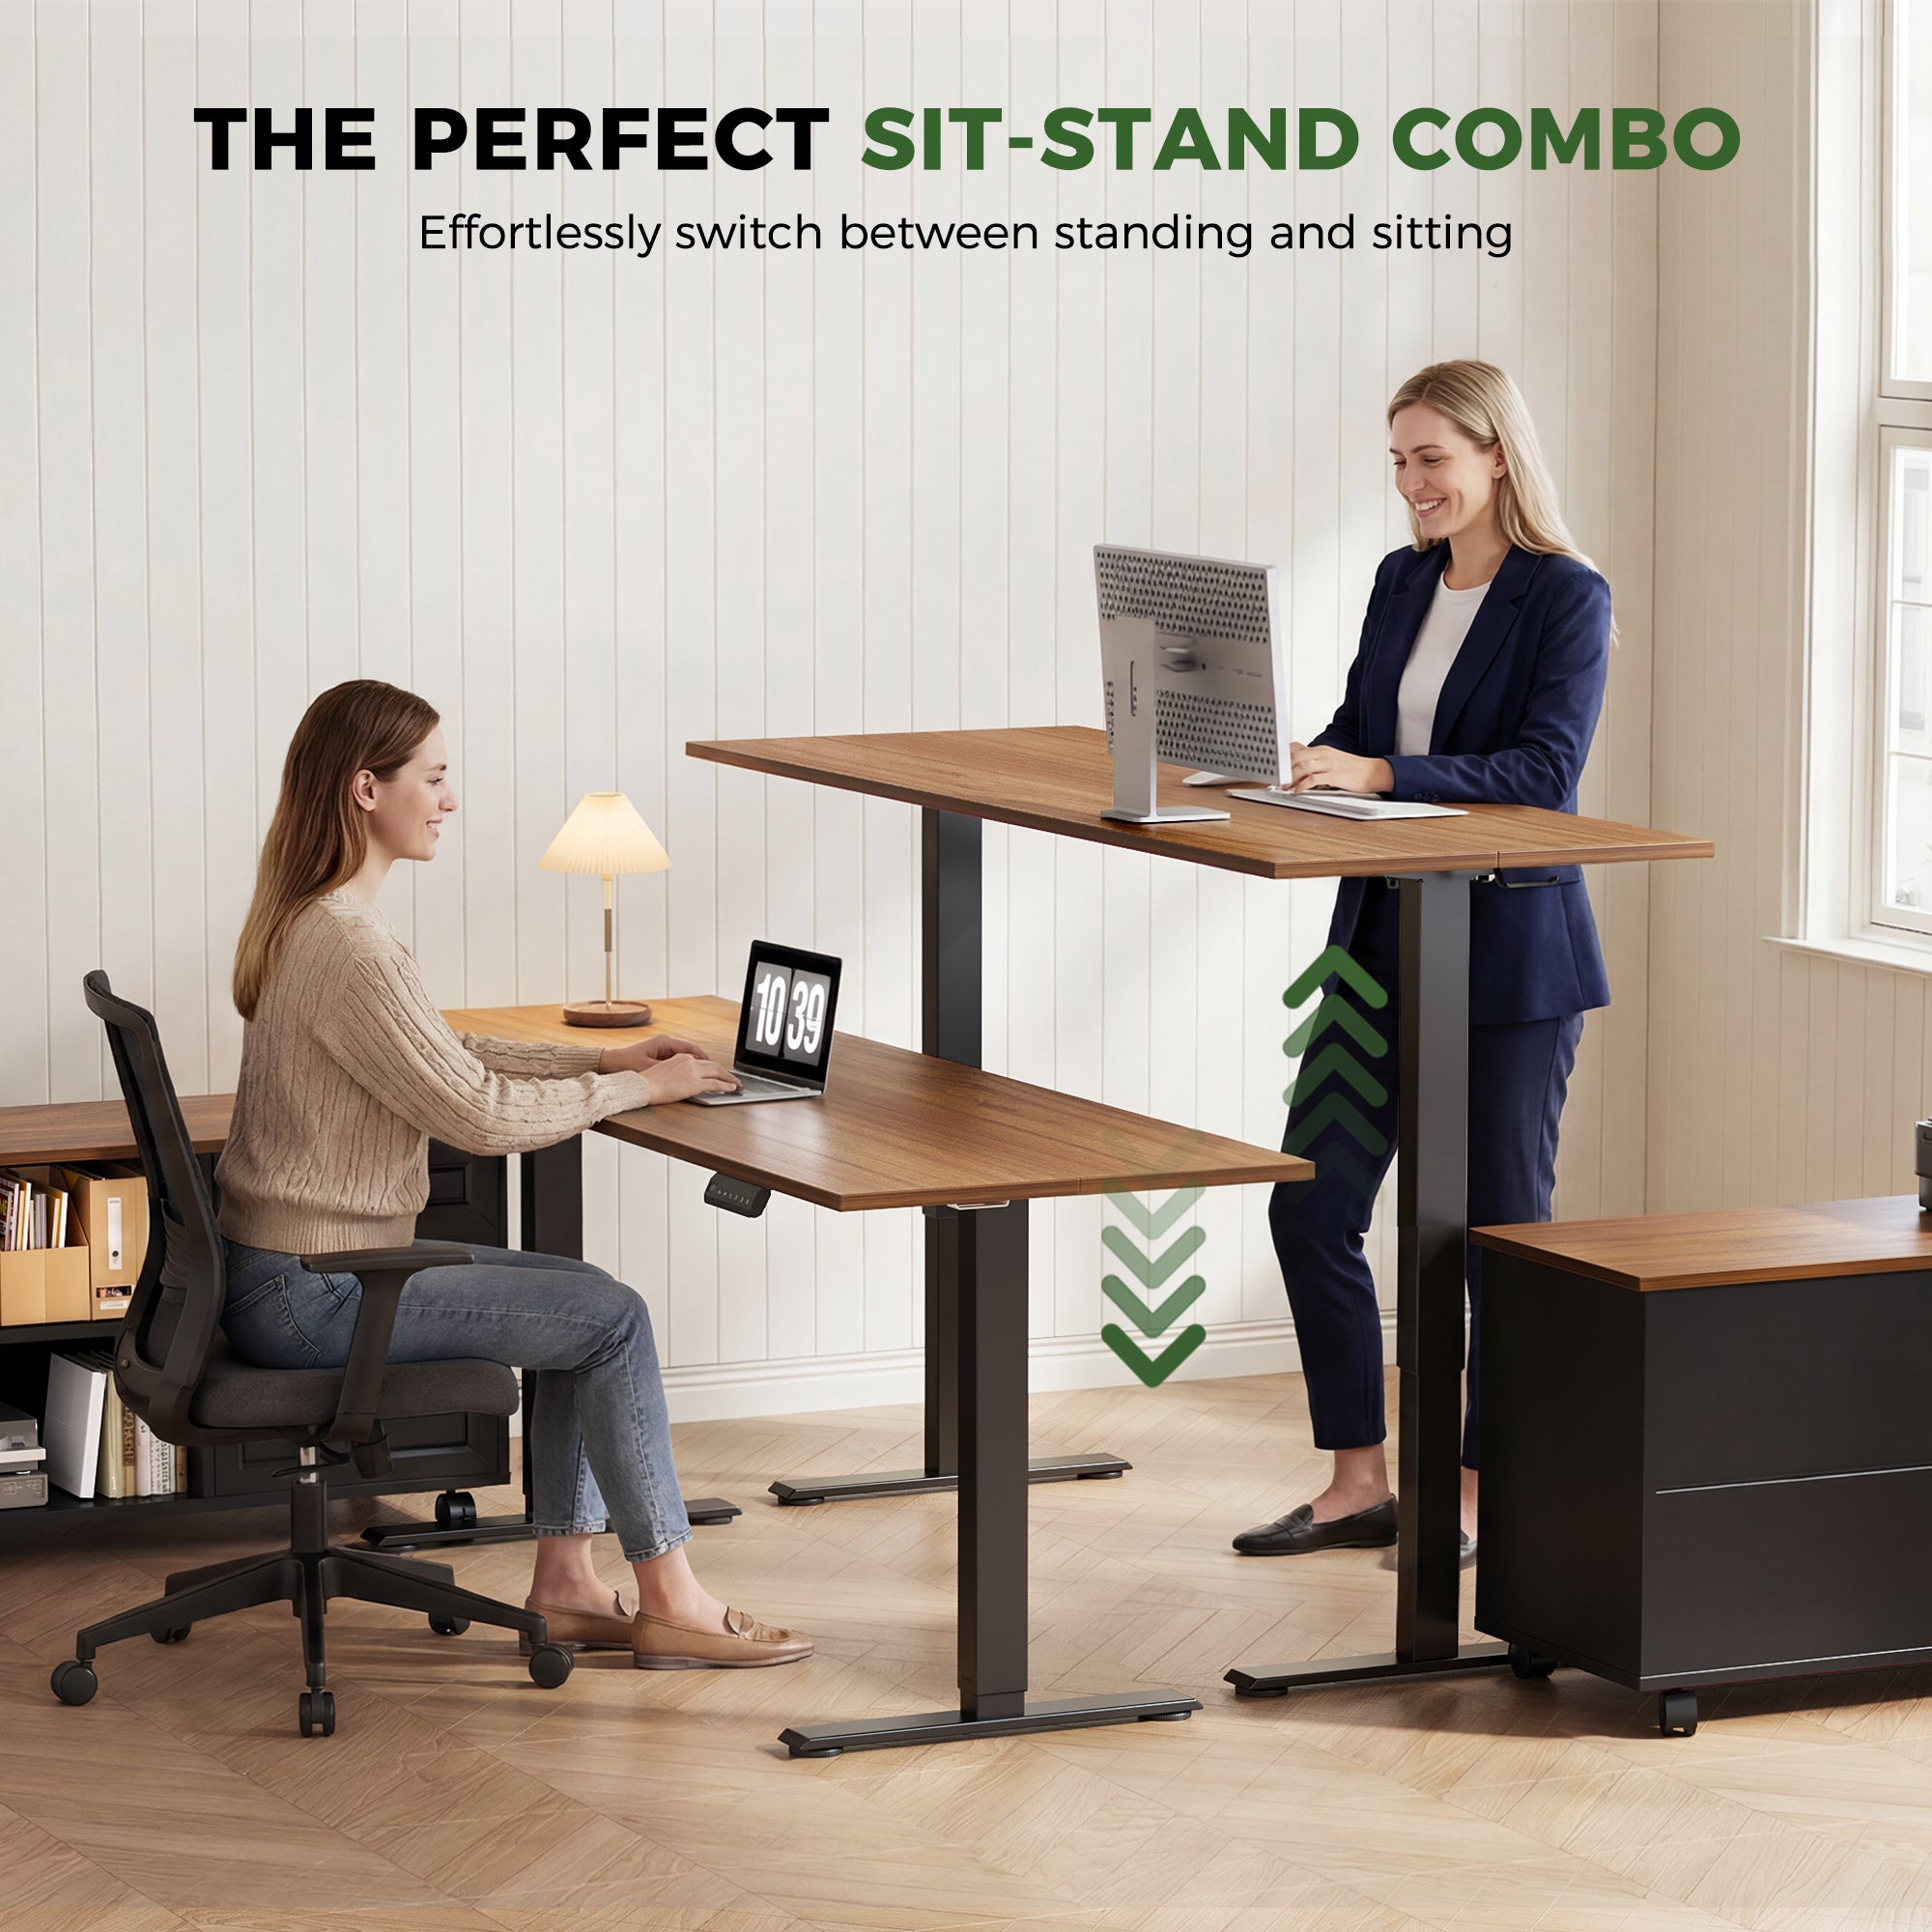
The OffiGo 55-inch L-shaped electric standing desk with a movable storage cabinet is designed around an integrated workspace idea: surface area plus storage, without crowding the main typing zone. Key fit details from the product specs include a height range of 28.4 to 47.2 inches, a 55.1 x 23.6 inch desktop, and a side cabinet sized about 39.4 x 15.8 x 18.7 inches. The control panel includes an LED height display and three memory presets, which makes cadence switching much easier to stick with day to day.
If you work with dual monitors, files, and peripherals, the separate cabinet helps you keep the primary wing clear so your shoulders stay relaxed and your trunk stays centered. That is the practical link between modular office furniture and lower-back comfort: you reduce repeated reaching and twisting because everything has a home.
OffiGo 55″ L-Shaped Height Adjustable Standing Desk with Large Movable
Troubleshooting
| Problem | Cause | Solution |
|---|---|---|
| Low back still tight | Standing blocks too long | Shorten to 5 minutes |
| Neck soreness appears | Screen too low | Raise monitor 2 to 3 inches |
| Foot fatigue increases | Static standing | Add mat, micro-move |
| Shoulder tension rises | Keyboard too high | Lower desk, relax shoulders |
| Desk bumps cables | Not enough slack | Add 2 to 4 inches |
If your discomfort does not improve after 1 to 2 weeks of consistent setup and cadence, simplify the plan: fix monitor height first, then do shorter standing intervals with more transitions. If symptoms escalate or travel down your leg, treat that as a medical red flag and get clinical guidance.
Conclusion
Sit-stand desk benefits show up fastest when you treat the desk as a movement tool, not a standing-only solution. Set a neutral seated baseline, lock screen and keyboard heights, then use short, repeatable transitions so your body gets frequent posture resets. Finally, zone your L-shape and clean up cables so your workstation supports steady alignment instead of constant reaching. Keep it simple, recheck your fit weekly, and build up standing time gradually.
FAQ
Do sit-stand desks directly treat lower back pain?
They can reduce lower back discomfort for many people by changing posture and increasing movement, but they are not a medical treatment. You still need a good seated baseline, correct monitor height, and a realistic cadence, because standing at a poorly set station can feel worse. If pain radiates down your leg, causes numbness, or worsens quickly, you should pause the experiment and seek clinical evaluation. Most importantly, focus on more transitions and less static time in any one position.
How often should I switch between sitting and standing?
Start with short, frequent switches that you can keep doing on busy days. A practical baseline is standing 5 to 10 minutes every 30 minutes, then adjusting based on comfort and workload. If standing triggers foot or low-back fatigue, shorten the standing blocks but increase the number of transitions. After a week, review which tasks feel best standing (calls, reading) and which are better sitting (heavy typing).
Is standing all day better than sitting all day?
No, standing all day can create its own set of problems, including foot fatigue, calf tightness, and low-back stiffness. Your best outcome usually comes from alternating positions and adding light movement, such as short walks or gentle weight shifts. If you notice you are bracing and locking your knees, you are standing too statically and too long. Use a timer and keep the goal on movement, not endurance.
What desk height should my keyboard be at when standing?
Set your standing keyboard height so your elbows sit near 90 degrees and your shoulders stay relaxed. Your wrists should stay straight while typing, so avoid a desk height that forces you to cock your wrists upward. If you feel upper-trap tension within 10 minutes, the desk is usually too high or your keyboard is too far away. Save the correct height to a memory preset so you do not drift into bad positions.
What should I do if standing makes my lower back feel worse?
Reduce standing time immediately and focus on more frequent transitions rather than longer standing blocks. Check that your screen is not pulling your head forward, because that often drives rib flare and low-back extension while standing. Add an anti-fatigue mat and keep a slight knee bend with small weight shifts every minute or two. If pain persists beyond 1 to 2 weeks of adjustments, or becomes sharp or radiating, stop and get individualized medical guidance.
0 comments